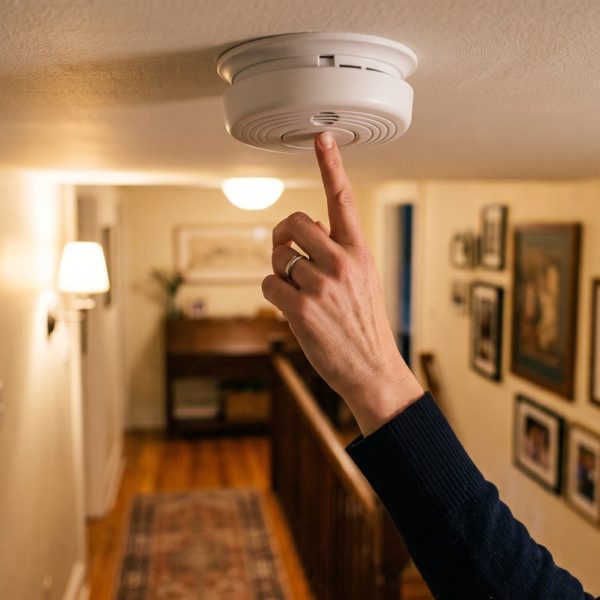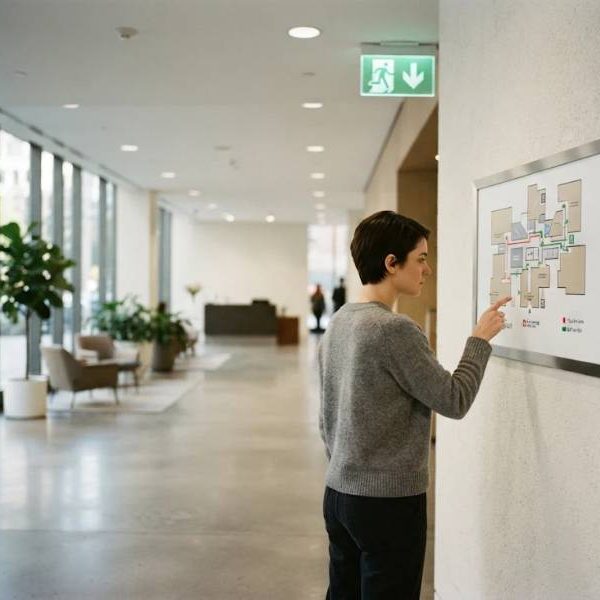
An evacuation map has about five seconds to do its job. Someone stops in a corridor, looks at the sign and needs to know where they are, which way to go and where to meet outside. If the map is crowded, outdated or confusing, it fails exactly when it matters most.
Good evacuation maps are not difficult to produce, but they follow a few strict principles. Here is how to design ones that work for everyone.
Start With Accurate Floor Plans
Begin with a current, to scale floor plan. Check it against the actual building, since renovations, partitions and moved doors are common. Walk every route yourself and confirm that exits are unlocked, corridors are clear and stairs are accessible. An accurate base plan prevents dangerous errors later.
Show the Essentials Only
Remove furniture, plumbing and decorative detail. Keep walls, doors, stairs, lifts, exits, fire extinguishers, alarm call points and assembly directions. Every extra symbol makes the important symbols harder to see. Use bold lines for primary routes and thinner lines for secondary ones.
Mark Your Location Clearly
The most useful feature is a prominent you are here marker. Orient the map so that it matches the direction the reader is facing, which means the wall behind it should be at the bottom. A rotated map forces readers to turn mentally and slows decisions.
Use Standard Symbols and Colours
International safety symbols and colour conventions exist so that people recognise them without reading. Green signals exits and safe routes, red marks fire equipment and arrows show direction. Include a short legend, but design the map so that most people do not need it. Guidance from authorities such as the US Ready campaign on evacuation provides helpful background on planning and communicating routes.
Plan Primary and Alternative Routes
Show the nearest exit and at least one alternative in case the first is blocked. Mark stairs rather than lifts as the standard evacuation route, except where accessible evacuation lifts are provided. Include assembly points outside, away from the building and clear of emergency vehicle access.
Think About Accessibility
People with disabilities need clear information. Show step free routes, refuge areas and evacuation chairs. Use high contrast colours, large type and tactile or braille versions where appropriate. Make sure maps are placed at heights reachable from a wheelchair and lit well enough for people with low vision.
Communicate in More Than One Language
Modern buildings host staff, tenants and visitors who speak many languages. Use pictograms first, then short text in the main languages of the building. A shopping centre, hotel or international office might include three or four. For example, Simplified Chinese translation helps buildings with Chinese speaking tenants or visitors provide accurate safety notices that match the English text exactly.
Keep Wording Short and Consistent
Use the same terms across maps, signs and announcements. Say assembly point everywhere, not meeting area on one sign and safe zone on another. Short imperative phrases work best, such as leave by the nearest exit. Translators need a glossary so that consistency continues in every language.
Equipment and Product Labels
Fire extinguishers, emergency lights and signs carry instructions and certifications that must be readable by users. Companies that supply safety products in Europe should understand labelling and instruction rules. This overview of GPSR translation requirements explains what information must accompany consumer products sold there.
Large and Complex Buildings
Hospitals, airports, schools and shopping centres need layered plans. Provide overall site maps at entrances and detailed floor maps inside. Divide the building into zones with clear names, so staff can give simple instructions by radio. Include phased evacuation information where only part of a building is cleared at a time.
Temporary Events and Construction
Exhibitions, concerts and building works change routes and exits. Prepare temporary maps for each layout, brief staff and stewards in advance and remove old signs so nobody follows an outdated route. Contractors and visitors should receive a simple site map at induction.
Documentation and Legal Duties
Many jurisdictions require evacuation plans, regular testing and written records. Keep copies of every version, the dates of drills and the names of trained wardens. Insurers and inspectors ask for these documents, and they help you show that safety was taken seriously.
Placement and Lighting
Place maps near stairwells, lifts, entrances and at corridor junctions on every floor. Mount them at eye level at consistent positions, so people know where to look. Illuminate them, and consider photoluminescent materials that glow in a power cut.
Digital Maps and Apps
Digital signs and mobile apps can display live information, including blocked routes. They are a useful addition, but they should never replace fixed printed maps, since power and network failures are exactly what emergencies bring.
Test, Drill and Update
Ask people who do not know the building to follow the map during a drill, and watch where they hesitate. Revise based on what you see. Update maps after every layout change, and record the date on each sign. Treat evacuation maps as living documents.